
It's the one photo where everyone's eyes are open, the light is good, and you look like yourself. There's also a spot on your chin that wasn't there the day before.
You don't want a new face. You want the spot gone and the rest left alone. Most of the time, the fix that looks fake isn't the blemish removal. It's everything people do on top of it. Here's how to remove acne from a photo on iPhone with FaceMend, and how to keep it looking like a photo of a person.
Before you start
FaceMend needs iOS 17 or later, and it runs on iPhone and iPad. There's no Android version.
The Retouch tools used below are free: removing blemishes, patching skin, smoothing, reducing dark circles, whitening teeth and brightening eyes. There's no watermark on the result and no ads in the app.
1. Remove blemishes one tap at a time
Open the photo in FaceMend and go to Retouch. Tap on the blemish, and FaceMend removes it.
A few habits make a big difference:
- One spot per tap. Fix the spot, look at it, then move to the next one. Tapping the same area again and again is how skin starts to look smeared.
- Only the temporary things. A pimple or a red mark from shaving is gone in a week, so removing it is fair. Moles, freckles and scars are part of your face. Leave them, and the photo still looks like you.
- Stop earlier than you think. Three fixed spots usually look better than twenty. People notice missing texture faster than a small mark.
2. Patch bigger areas instead of tapping them
For a patch of redness or a larger mark, tapping over and over isn't the right tool. Use patch/clone instead. It copies a clean area of skin over the problem area.
Pick a source close by, from the same side of the face and in the same light. Skin on the cheek and skin on the forehead have different texture and color. Copy from the wrong one and the patch shows.
3. Smooth skin in the photo without it looking fake
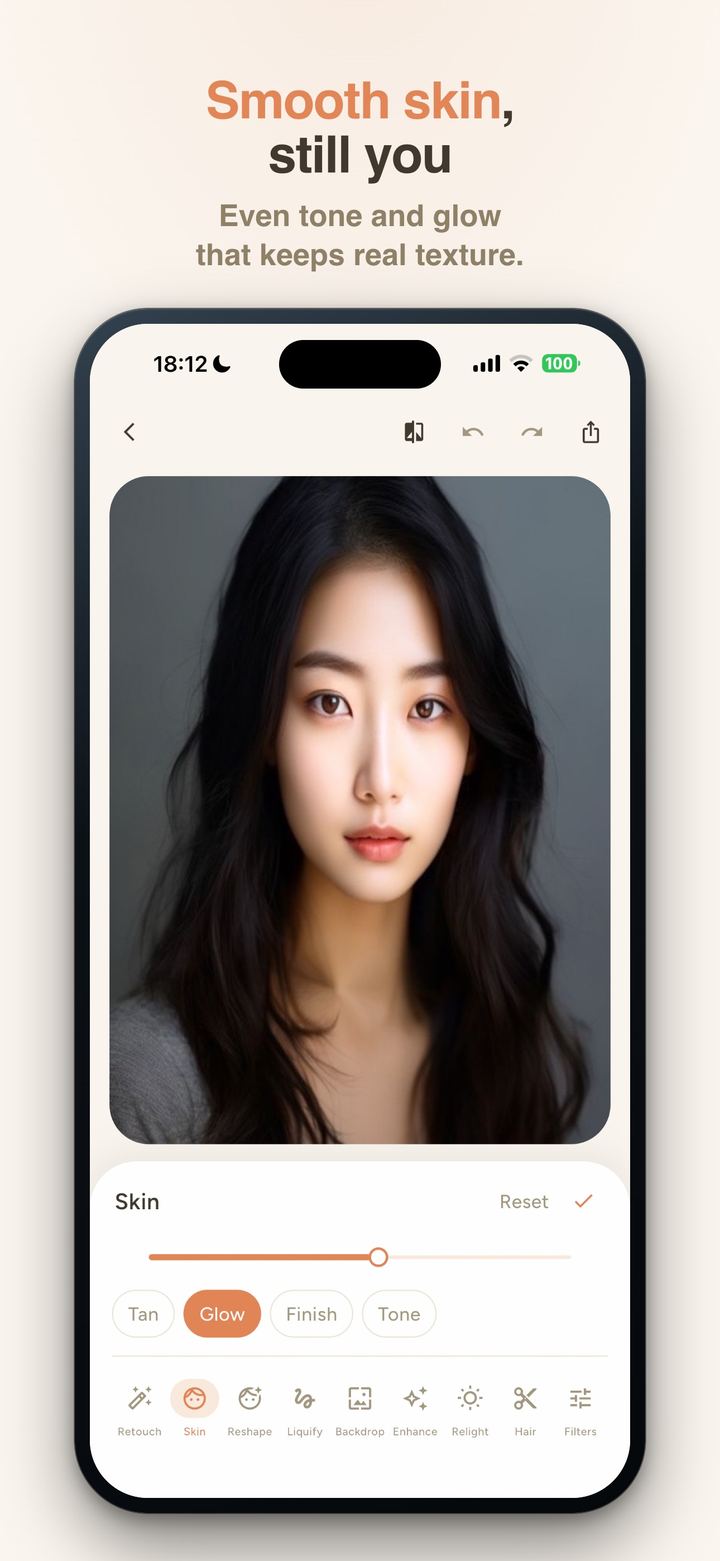
This is where most edits go wrong. Full skin smoothing removes pores, fine lines and the small shadows that make a face look three-dimensional. The result is the plastic look.
To smooth skin in a photo without it looking fake:
- Remove blemishes first, smooth second. If the spots are already gone, you need much less smoothing.
- Keep it low. Use as little smoothing as you can. If you can clearly tell it was smoothed, it's too much.
- Don't reach for Auto for blemishes. In FaceMend, Auto retouch only smooths skin. It doesn't remove blemishes or fix dark circles for you. Those are the manual tools above.
4. Eyes and teeth: less is more
Reduce dark circles if you slept badly, but don't take them to zero. Everyone has some shadow under the eyes, and a face without any looks painted.
The same goes for whitening teeth and brightening eyes. A small change reads as "good photo". A big one reads as "edited". Very white teeth next to natural skin are one of the first things people spot.
5. Export and check at full size
Export the photo and open it in the Photos app. Zoom in on the areas you touched. Look for smeared patches, repeated texture from the patch tool, or edges where the skin color changes.
Then look at it at normal size, the way others will see it. If nobody would guess anything was changed, you're done.
The limits
- Blemish removal is manual. You tap each spot yourself. That takes a minute longer than a one-tap filter, but it's also why you keep control over what changes.
- Export size. The free export goes up to 1920 px on the long side. That's plenty for social posts and messages. HD export is part of Pro.
- It can't bring back detail that isn't there. In a blurry or very dark photo, removed spots are harder to blend, because there's little texture to copy from.
- iOS 17 or later. Older iPhones that can't update won't run it.
The short version
Fix the few spots that won't be there next week. Patch from nearby skin. Keep smoothing low, leave some shadow under the eyes, and check the result at full size. Other apps often end up looking plastic because they do too much at once. Doing a little, one spot at a time, is what keeps the photo looking like you.